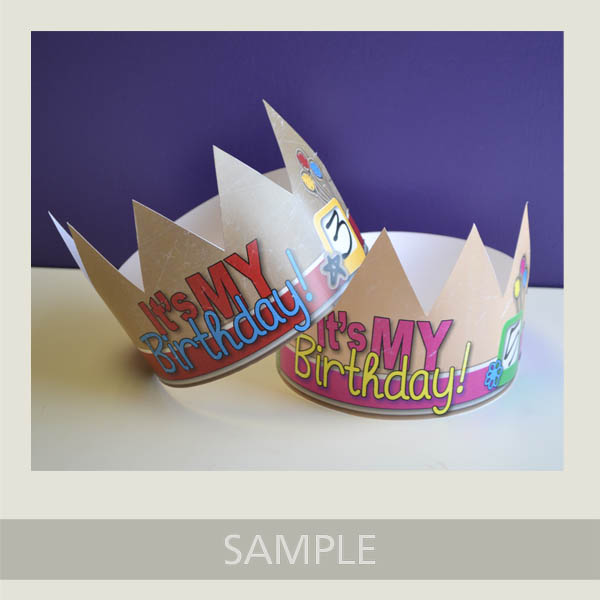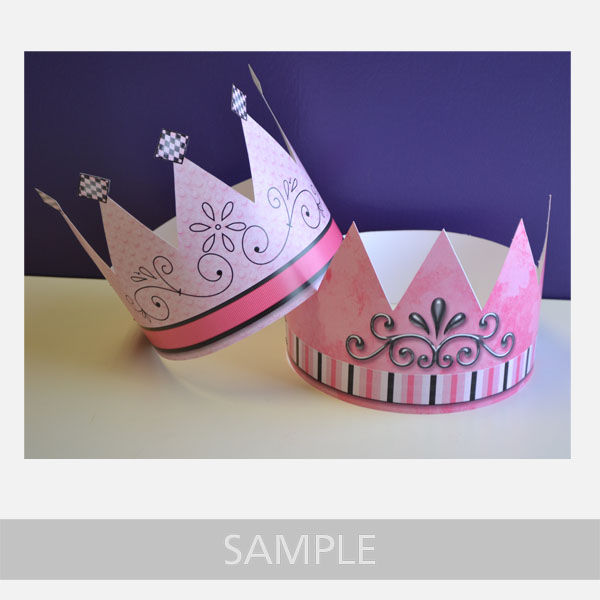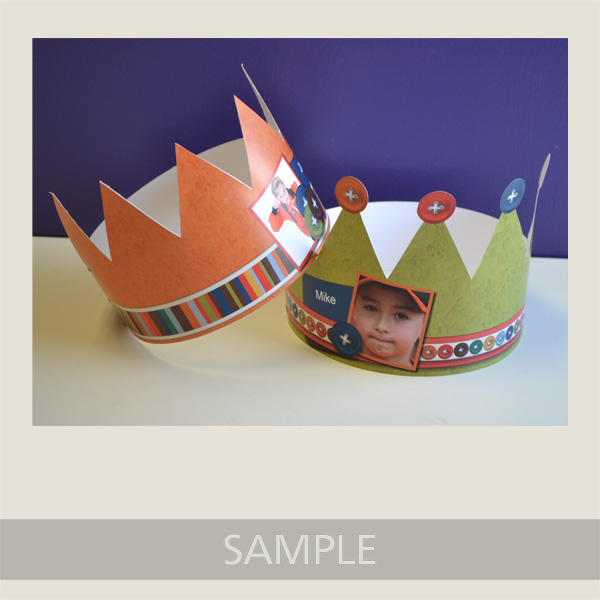


- Download template file and install it into your software
- Using MyMemories Suite, choose Create Album From Designer Template and find your project
- Now you can add pictures, print and enjoy the provided template, or customize it with your own papers and embellishments.
TIP:
You can right-click on the white guide and lock it in place to keep it from moving while you are working. Make sure this is the top layer of your project before printing.
Instead of adding the paper as a background paper, you can add it as an embellishment so that you can move the paper around. This is especially useful when using papers with stripes or circles, so you can decide which part of the paper you want to use.
Once it is added as an embellishment, you can now select the paper and move it into the position you want it. Save and print on cardstock.
1. Print your Crown templates on cardstock and gather supplies. (Recommended supplies: craft knife, cutting mat, metal edged ruler, small scissors, stapler)

2. Using the craft knife and metal edged ruler cut along outside line.
TIP: a small pair of scissors could be used as an alternative, especially when adding decorations to the top points of your crown
3. Align bottom edges and staple together.
4. Repeat on other side to form a circle.


Thanks, Mandy!