Eva’s warning: This is an overnight recipe. It will require you creating a starter (dough) for ~12 hours plus another overnight rise. Once shaped, the dough will require another 1 hour to rise. Plan accordingly!
Hi everyone! It’s Eva from Eva Bakes here again to share another fantastic recipe with you. Prior to my muffin obsession, I had an English muffin problem. I ate one every day for what seemed like months. I kept buying those commercially made ones at the grocery store. I did my best to buy the whole wheat ones so they seemed a bit healthier. After eating English muffins for many weeks, I finally branched out into other breakfast items.
Recently, I got tired of making muffins so I went back to my original English muffin craze. As expected, I bought the brand at my local grocery store. My husband started reading the ingredients and was not too happy with what he saw. He did some follow-up research and read online that mass-produced English muffins contained a lot more preservatives and shelf stabilizers than what we’d typically expect. At that moment, he encouraged me to make some of my own.

I freaked out for a little bit because I had never made English muffins before. What if I failed? What if my yeast never rose? What if I didn’t have the time? I pushed those negative thoughts away and decided to take a leap of faith and just try it. I mean, who cares if they turned out ugly, right? Homemade muffins beat mass-produced ones any day.
I did my research and found a few contending recipes. I finally chose this one since it involved a technique I had never attempted before: creating a starter dough. Sourdough has been on my to-bake list for a while, so this recipe would be a great introduction to that process. I set aside a day and a half to make these and am glad I tried.
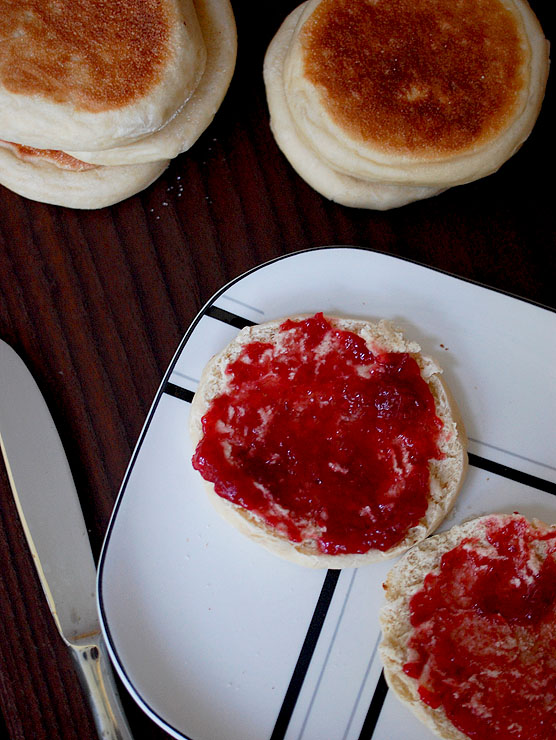
Since I was used to the commercially made English muffins, I didn’t know what to expect. The muffins were light and tender, similar to a freshly made bread. The muffins were slightly tangy from the sourdough-like starter, so it was a nice contrast to the sweet fruit jam that I spread on top. My family and I all enjoyed these homemade muffins, and I hope yours will too!
- Starter:
- ¾ (3 and ⅓ ounces) all-purpose or bread flour
- ½ cup room temperature water
- ½ teaspoon active dry or instant yeast
- English muffins:
- 1 cup milk of choice
- 1 teaspoon active dry or instant yeast
- 2 Tablespoons granulated sugar
- 2 Tablespoons unsalted butter, melted
- 1 teaspoon salt
- 3 to 3 and ¼ cups all-purpose or bread flour
- Cornmeal for dusting
- Butter for the skillet
- In a small bowl, whisk together the flour, water and yeast. Whisk the mixture until it is smooth and glossy, about 100 strokes. Cover and set aside for 1-12 hours (the longer the better).
- In the bowl of a stand mixer (or in a large bowl if you don't own a stand mixer), combine the milk and the yeast. Add the starter and mix well with a spatula or whisk. The dough will look really frothy.
- Add the sugar, melted butter and salt. Whisk to combine. Then add 3 cups of the flour and mix with a sturdy spatula. The dough will be shaggy.
- With the dough hook attachment, knead the dough with your stand mixer for on medium speed for about 5-8 minutes. If you do not have a stand mixer, you can knead by hand. Add extra flour a little at a time as needed. The final dough should be springy and tacky. It should not stick to your hand.
- Transfer the dough to a lightly oiled bowl and cover. Place it in the refrigerator and allow it to rise overnight. It can stay refrigerated for up to 3 days.
- Remove the dough and divide into 12 equal pieces. Roll each piece into a ball.
- Sprinkle a standard baking sheet with cornmeal. Place each ball on the baking sheet and allow some room in between each ball of dough. If you have muffin rings, you can place them around each dough ball. Sprinkle the tops of each dough ball with more cornmeal. Allow the dough to rise for 1 hour or until puffy.
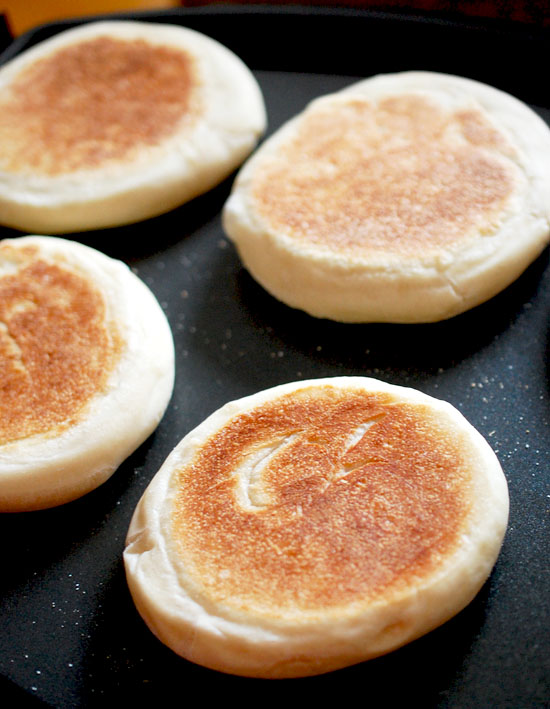
- Warm a skillet over medium heat. Add a small pat of butter and swirl it around to coat the bottom of the pan. Add a few muffins to the pan and make sure you do not crowd the pan. Cook each muffin for 5-6 minutes per side. Adjust the heat as needed.
- Once all the muffins have been made, split them and add your favorite spread, butter or honey and enjoy.
Source: the kitchn
![]()


Will there be a difference if I use bread flour vs. the all-purpose with English muffins? I like the kind at the grocery store that have a lot of air pockets.
Thanks!,
Lisa
I don’t bake like my mom did we used to have fresh baked bread items each week ( not in the summer.)
I need to try again.
Thanks for the recipe and memories.
These English muffins look perfect, Eva! I have never tried making my own and can just imagine how tasty and fresh they were! Yum, wish I had some this morning!